A student may have lost, deleted, or not received the email containing the link to submit their assessment. You can see the status of your students’ emails anytime and resend them if needed.
Resending emails
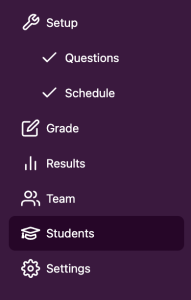
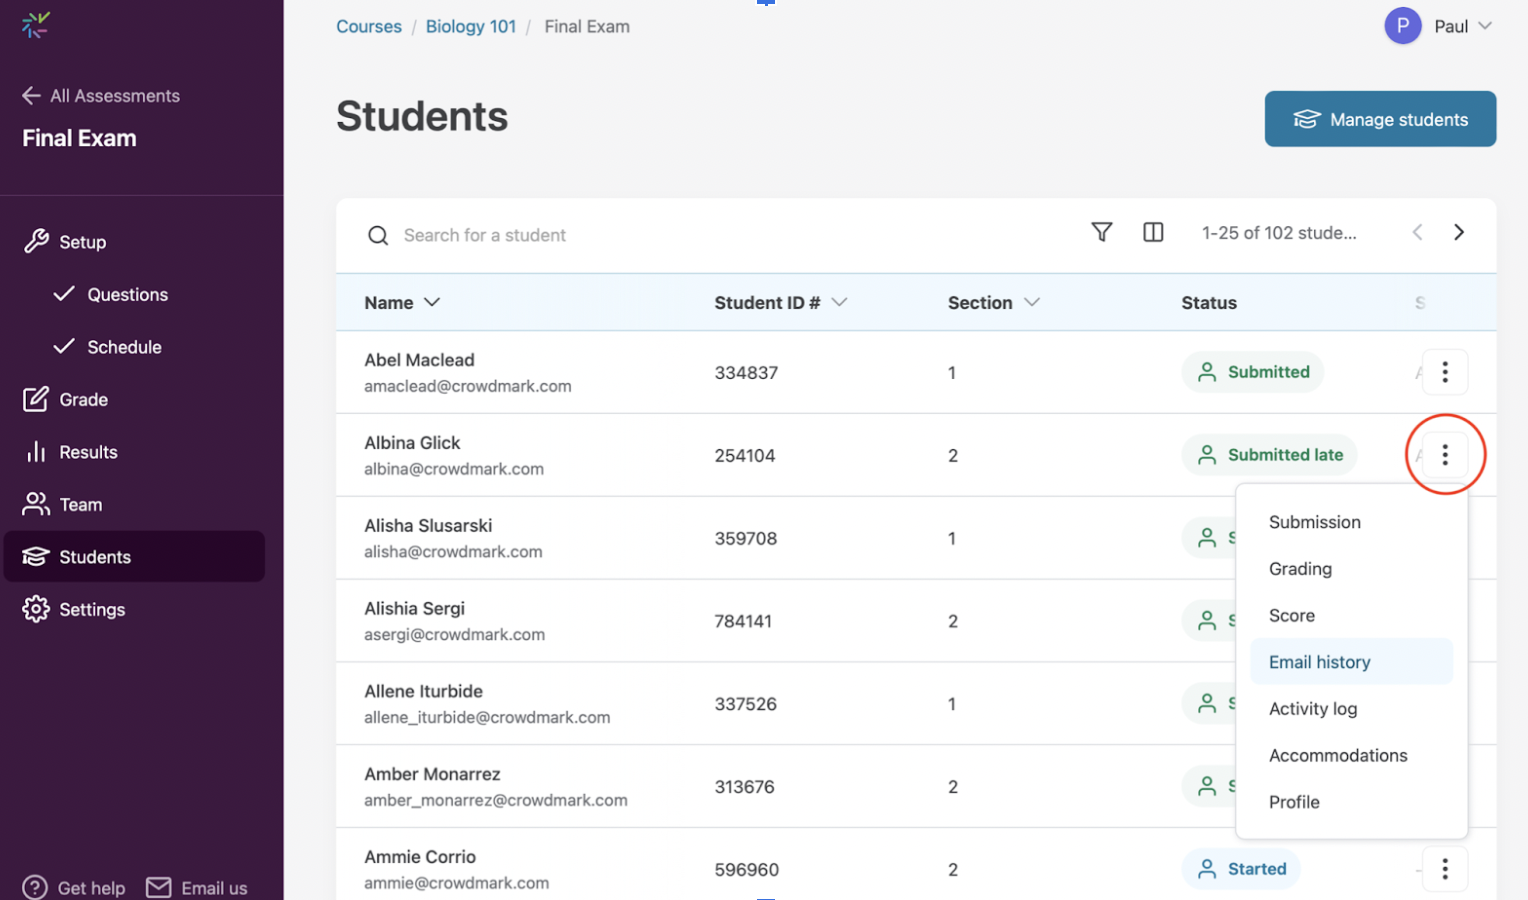
- In your assignment’s Dashboard, click on Students in the sidebar.

2. Find the student you’re looking for and click on the three-dot menu that appears at the end of the row to access the student menu. Choose Email history from the menu.

3. A panel will appear containing a list of all emails previously sent to the student. Here, you can review the email address used, the status of the last email sent, and troubleshoot any failures.
Click Resend email to attempt to send the same email again to a student. To leave this view, simply click the close icon positioned in the top-left corner of your screen or click outside the panel.

Understanding email statuses
Here are the most common statuses and what they mean:
- Sent: Email has been sent successfully.
- Opened: Email has been sent successfully and the student has opened the email.
- Failed: Something went wrong and the email failed to arrive. Try resending the email.
- Bounced: The email failed to arrive. Usually, this is because the email address doesn’t exist. It can also happen when a student’s school email account is attempting to forward to a personal email account but is incorrectly configured. Your institution’s IT department should be able to assist with this issue.
Why isn’t the “opened” status 100% accurate?
To detect when a student has opened an email, the student’s email client must be set to display images (some institutional email programs accept only plain text emails). If the status says the student has opened the email, the student has opened the email. However, if the status says the email is unopened, this could mean that the email was never opened or that the student’s email client simply isn’t displaying images.